
Photography Tips in Woodland Light
Capturing the magic of shade paths — camera settings, timing, and why your phone might be your best tool
Why Woodland Light is Trickier Than You Think
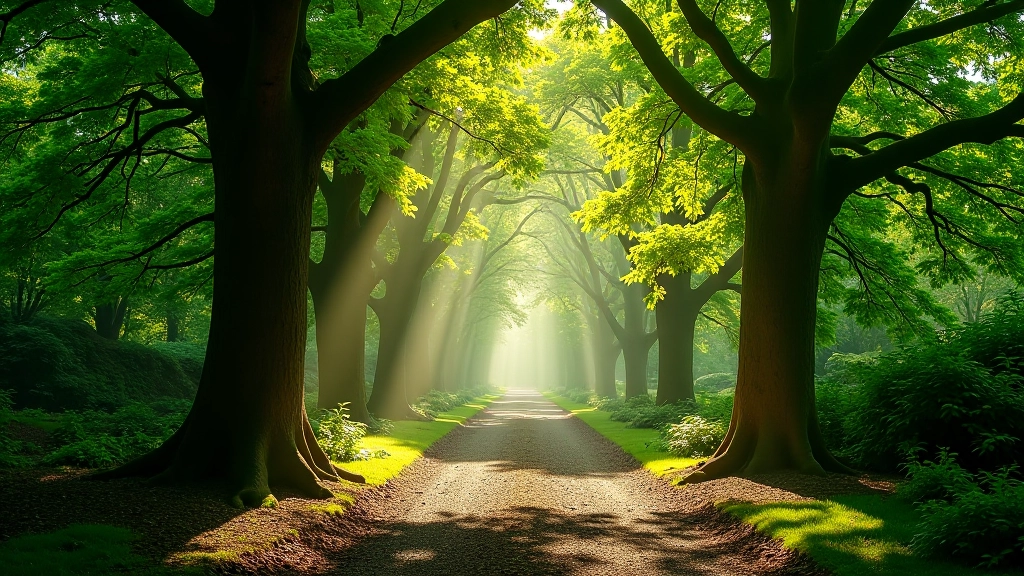
You're walking through Reenadinna or Muckross, the light's doing something magical between the branches, and you want to capture it. Thing is, woodland photography isn't like photographing a sunny landscape. The dappled light, the shadows, the way everything shifts as you move — it's all working against you and for you at the same time.
The challenge: your camera (phone or otherwise) struggles with the massive contrast between bright patches and deep shadow. You'll get either blown-out bright spots or dark, muddy shadows. But here's the good news — once you understand why this happens, you can work with it instead of fighting it.
Camera Settings That Actually Work
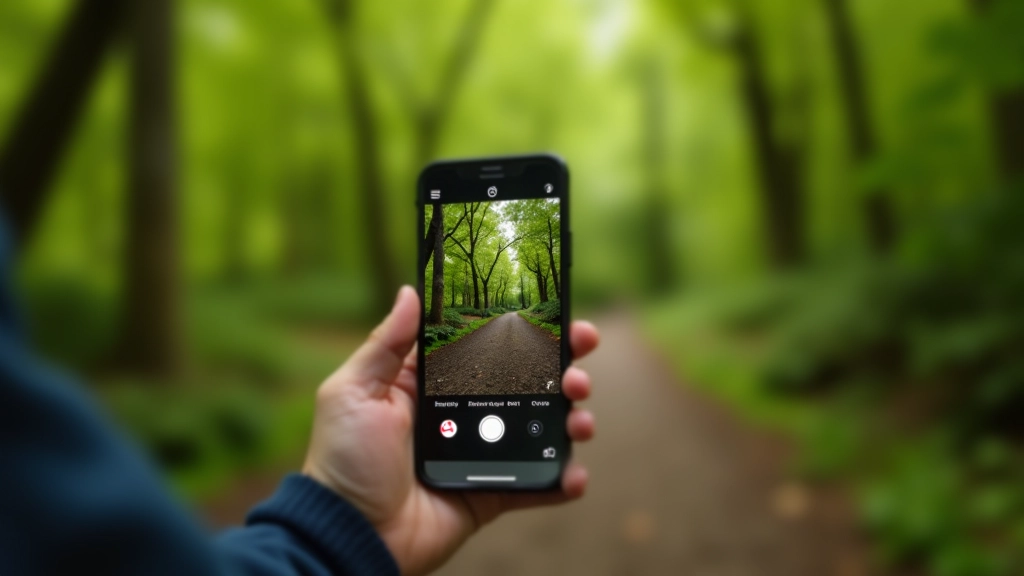
If you're using a smartphone, you've already got most of what you need. Phones are brilliant for woodland because they've got wide lenses and smart exposure handling. But they need help.
The key settings to know:
- Exposure compensation: On your phone, that's the little sun icon. When you're pointing at shadow, slide it down (darker). When you're pointing at bright patches, slide it up. You're telling the camera "this isn't average lighting, adjust for it."
- Focus point: Don't let your camera pick what's important. Tap where you want focus — usually the most interesting shadow detail or a specific tree.
- ISO: If you've got a proper camera, keep ISO low (100-400) in shadow and don't push it higher just to get a brighter image. Grain is often better than blown highlights.
- Shutter speed: Woodland light is dim, so you need slower speeds (1/30th or slower) or a wider aperture (f/2.8 or wider if you have it). If you're handheld, brace yourself or find a tree to lean against.
Here's something most guides won't tell you: don't chase perfect exposure in the histogram. Woodland photos often look better slightly underexposed — it keeps those bright spots from washing out, and you can recover shadow detail in editing.
Timing: When Light Actually Cooperates
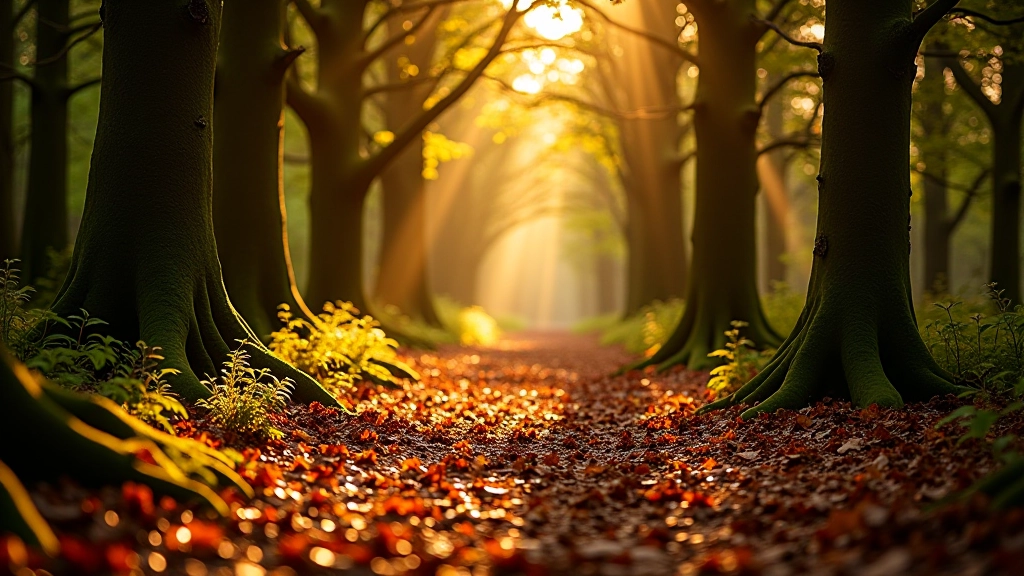
Here's the thing about woodland light — it changes constantly. A spot that's all shadow at noon becomes golden at 4 PM. You're not waiting for the perfect light; you're finding it as it moves.
Early morning (before 9 AM) and late afternoon (after 3 PM) are your sweet spots. The sun's lower, so light penetrates deeper into the forest and doesn't create those harsh contrasts. The color temperature is warmer too — your photos'll have that golden tone people actually want from woodland images.
Midday? Don't avoid it completely. Those high-contrast shadow patterns can look dramatic. Just lean into it — embrace the deep blacks and bright highlights instead of trying to balance them.
Pro tip: Overcast days are underrated. You'll lose some of the dramatic light, but you'll gain even exposure across the entire scene. It's easier to process and honestly, the soft light suits ancient woodland really well.
This guide is informational — it describes common photography techniques based on how light behaves in woodland environments. Results depend on your equipment, skill level, and specific conditions. Photography itself has no risks, but when visiting woodland areas, always stay on marked paths, wear appropriate footwear, and be aware of your surroundings.
Phone vs. Camera: The Honest Comparison
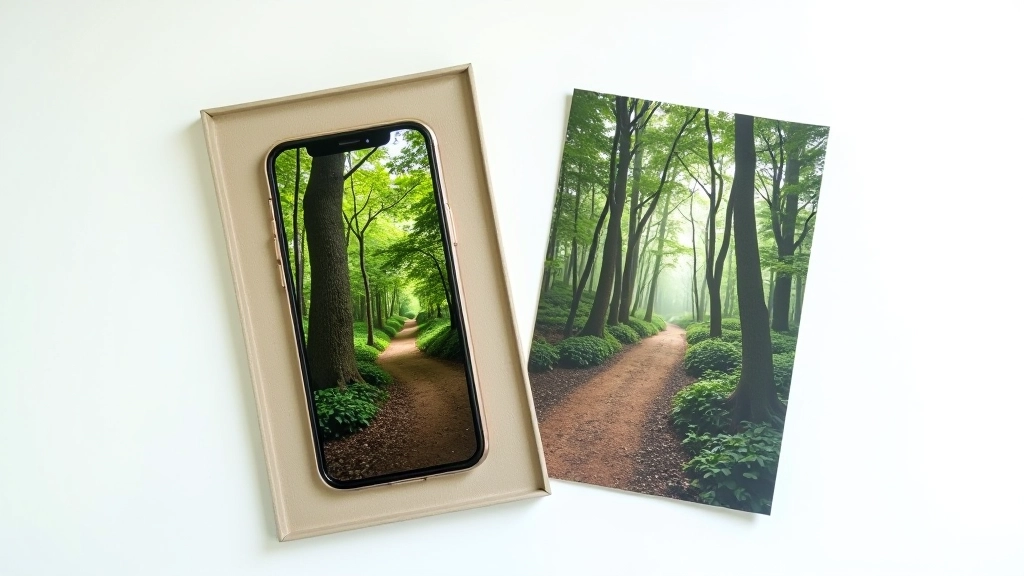
You might think you need a fancy camera to get good woodland shots. You don't. Smartphones are genuinely excellent in shade — they're designed for challenging light. Your phone's computational photography is working overtime to balance exposure, and it's usually right.
Where a proper camera wins: if you want to isolate a subject with a blurred background, if you need to shoot in very low light without noise, or if you want more control over focus and depth. But for woodland work? A phone gets you 80% of the way there.
The real difference isn't the equipment — it's your understanding of light. You can take stunning woodland photos with a 5-year-old smartphone if you understand exposure, timing, and composition. You can also take terrible photos with expensive gear if you don't.
The Real Secret? It's Just Practice
You want to know the actual technique that separates decent woodland photos from great ones? It's not a setting or a time of day. It's spending time actually photographing in these spaces. You'll start seeing light differently — understanding how a slight shift in angle changes everything, noticing which shadows tell a story and which ones just muddy the image.
Next time you're at Reenadinna or walking the Muckross paths, bring your camera (phone or otherwise) and experiment. Adjust your exposure, change your angle, come back at different times. The woodland light will teach you more than any guide can.
Want more woodland tips? Explore our other guides for making the most of your time among the ancient yews.
Browse all woodland guides
Síle O'Sullivan
Senior Woodland Heritage Writer
Woodland ecologist and heritage writer with 14 years' experience in Irish forest conservation and accessible nature tourism.
Related Guides
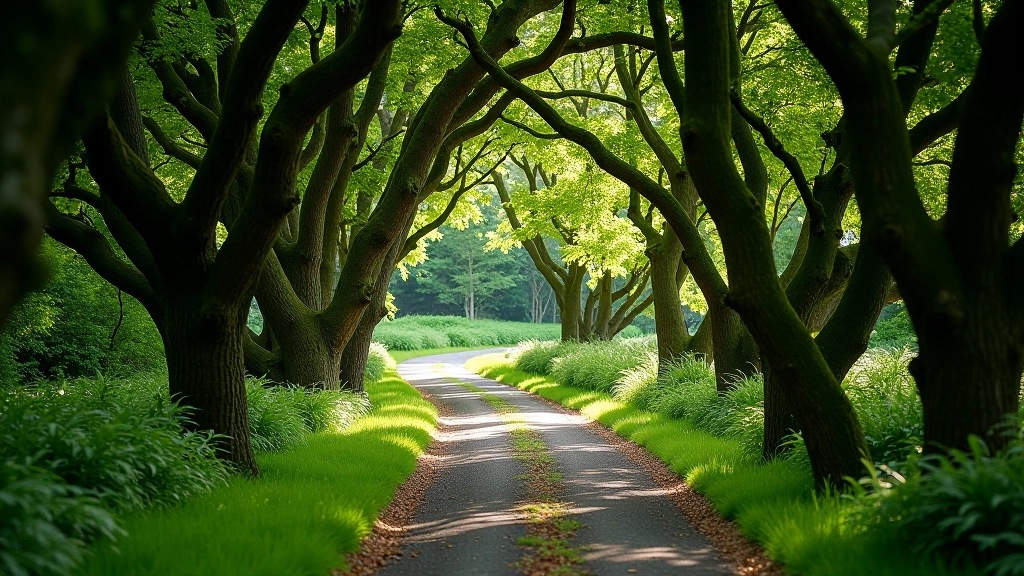
Walking Reenadinna Yew Wood Without Getting Lost
The three main loops, trail markers to look for, and why locals recommend the northeast path in autumn.
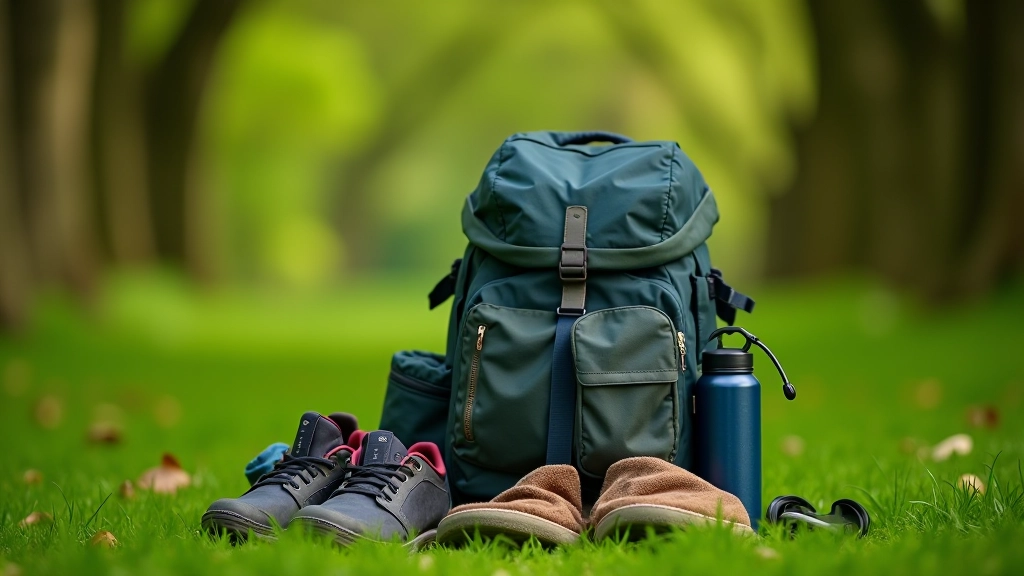
What to Bring for a Full Day at Muckross Peninsula
Practical packing list including water, comfortable shoes, what to wear for changing conditions, and why you'll want a small towel.
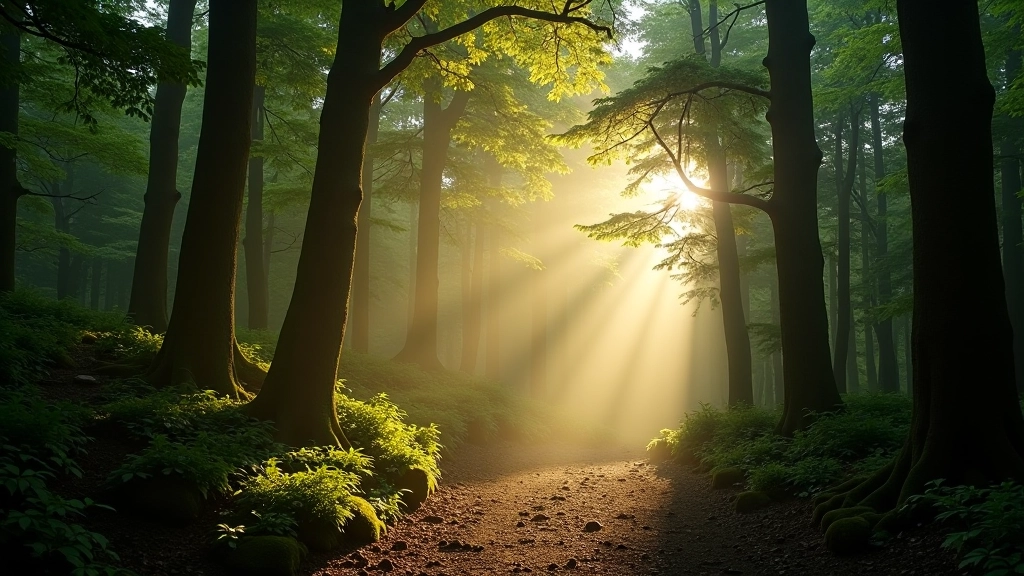
The Health Benefits of Walking in Old Growth Forests
What happens to your stress levels, breathing, and mood when you spend time under ancient trees — backed by research.